Starting Seeds Indoors: A Step by Step Guide
Are you wanting to break the winter blues by starting your garden early? Curious about how to start seeds indoors or what to do and when? Starting seeds indoors is a very rewarding way to grow your garden vegetables and flowers alike.
So why would you want to start with your own seeds? There are many reasons why doing this is a great idea for gardeners.

Reasons to Start Seeds Indoors
- It is a great way to cut costs down on your growing needs.
- Plants started from your own seeds known to have a much better chance of survival than buying starter transplants.
- Growers are going to have a better variety to choose from in which you might not have the option to buy at grocery stores or starter plants.
- It allows the vegetables and flowers to get a jump start and have a much longer growing season and a higher production yield.
- Plants started from seeds, especially indoors, proves to help keep your plants virus-free and pest free.
When to Start Seeds Indoors
Contrary to belief, when you start your seeds is not based on what Zone you live in, it is based on when the last frost date for your area is. U.S. gardeners can find the last frost date for their location through the U. S. Department of Agriculture here. Many gardeners ask when should you start seeds indoors, and the answer depends on your local last frost date rather than planting zone alone.
If you are in the Little Rock area, the last frost date usually falls around April 15th. For the most part, the best time to start your seeds are going to be 8-6 weeks before the last frost. Here is a list of common vegetables and flowers and how many weeks before the last frost you should start your seeds.
Seeds to Start 12 – 8 weeks Before Final Frost Date
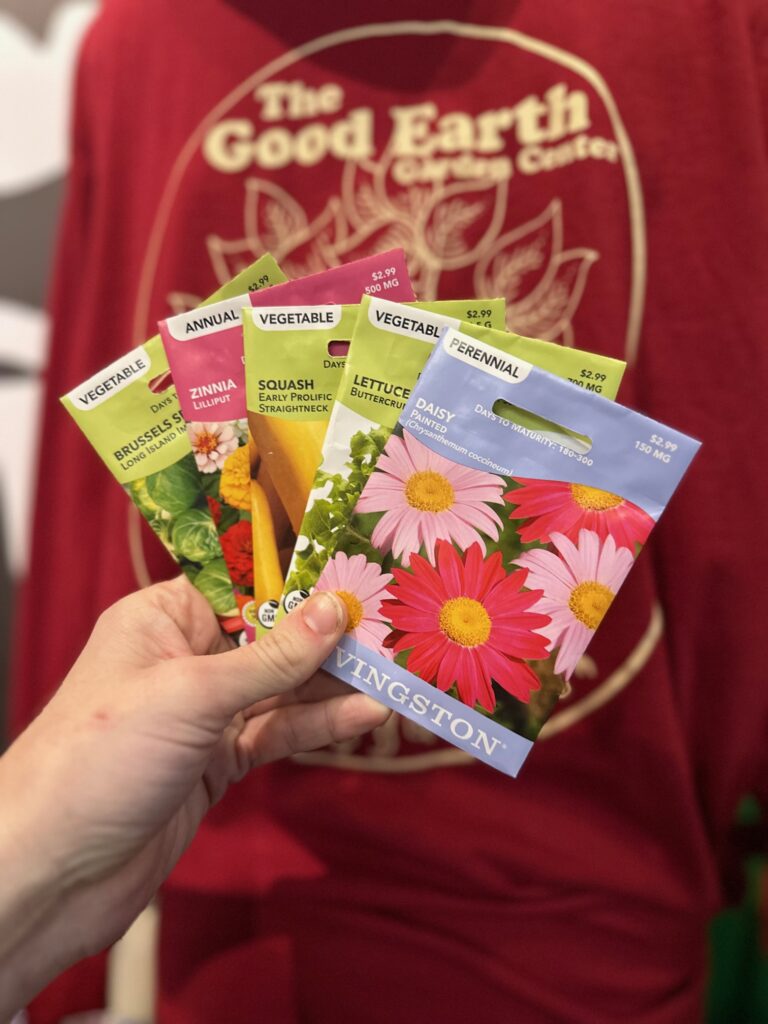
Vegetables: Cabbages, Broccoli, Cauliflower, Brussel Sprouts, Kales, Spinach, Lettuce, Onions, Garlic
Flowers: Daisies, Begonias, Petunias, Delphinium, Dianthus, Snap Dragons
Seeds to Start 8 – 6 weeks Before Final Frost Date
Vegetables: Tomatoes, Peppers, Eggplants, Peas , Beans, Squash
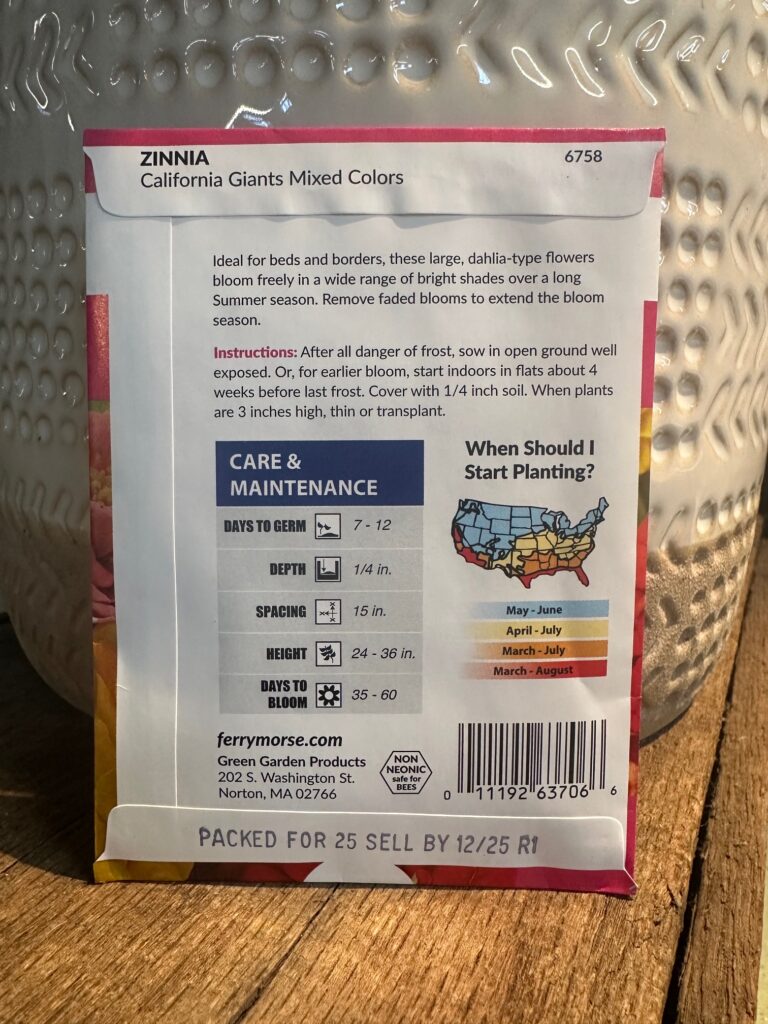
Flowers: Zinnias, Impatiens, Pansies, Alyssum, Cosmos

Supplies Necessary for Starting Seeds Indoors
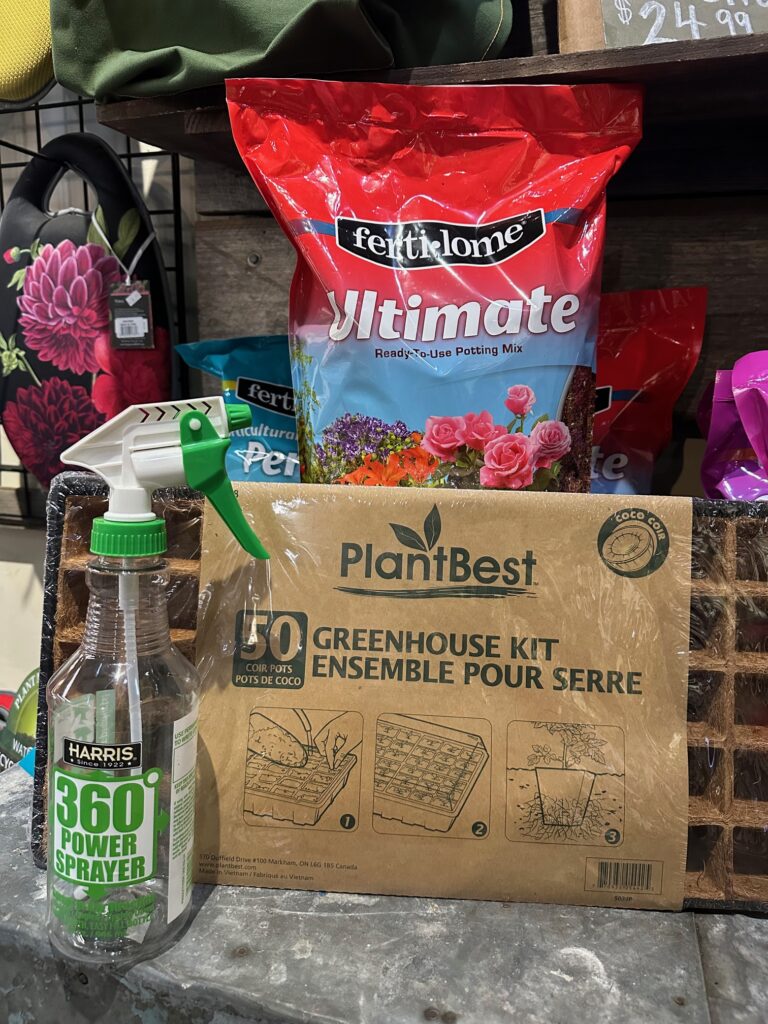
* Seedling tray with cells with a drip tray.
- Each seed packet that you purchase will have instructions on the back for how deep you want your seed to be buried. This is usually ¼ to ½ inch down in the soil.
* A cover to retain moisture.
- You want to make sure that you keep your seeds moist at all times, which is why we recommend you have a type of cover over your seedlings. This creates a greenhouse-like environment.
* Seed-starting soil mix.
- We recommend The Good Earth Professional Growers mix.
* Grow Lights or a south facing window.
- Light is crucial for starting seeds. If you have a grow light, you want to make sure it is positioned just a few inches above your seedlings. If it is any higher, the seedlings will reach for the light and grow leggy. Your seedlings should be receiving at least 12 to 8 hours of light a day.
* Watering can.
- Again, we want to make sure that the seeds have moist soil at all times, but not drenched in water. We recommend a seed tray that has drainage and a tray underneath to catch the extra water so that it doesn’t make a mess
* Plant labels.
- It is very easy to lose track of which seeds are which when planting, so make sure you label what they are.
* Seeds.
Okay, our seeds are planted, so now what do we do?
You are going to want to check your seeds at least once or twice a day. We want to make sure that the soil is damp at all times, so if the top layer is dry, it might be a good idea to give your seeds a good misting.
Once the seedlings sprout, and grow about an inch, it is going to be safe to take the cover off.
To prevent overcrowding, you are going to want to thin your sprouts out. This is going to be after the seedlings have their first set of true leaves, which is normally the second set of leaves that sprout. To prevent disturbing the soil, snip all but one of the seedlings. This is going to allow the one to grow and thrive in the space available.
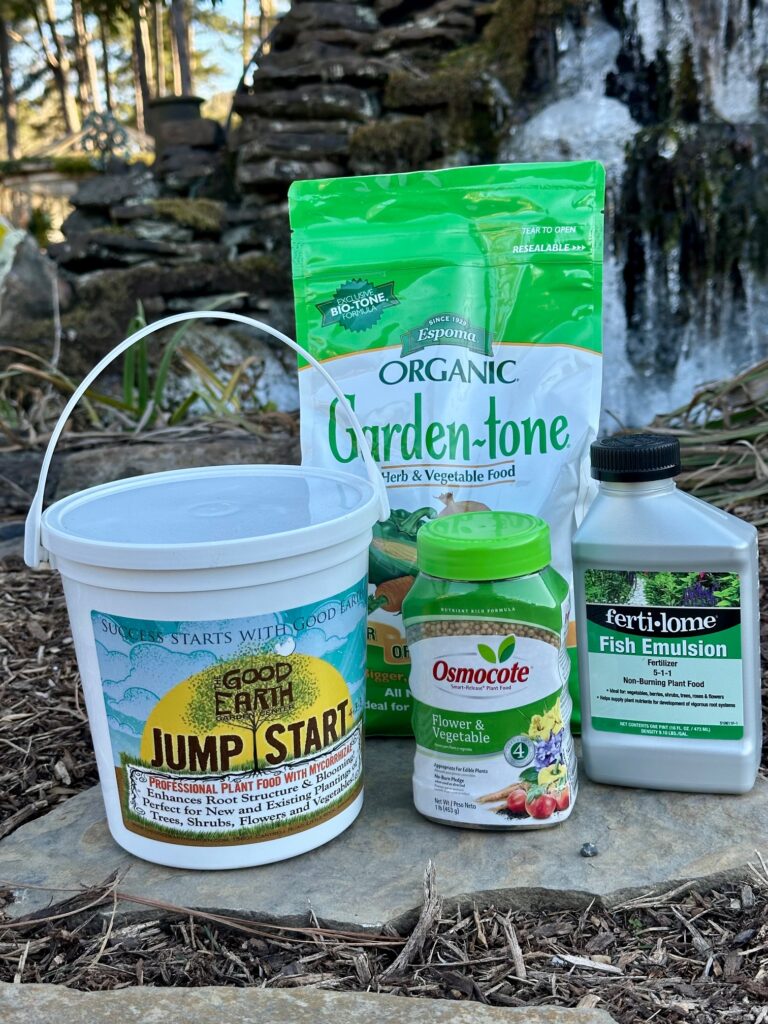
After the seedlings have grown a few sets of true leaves, you can now start to fertilize your babies. You want to make sure that you use a water soluble fertilizer, and that you use a less concentrated formula than what is recommended on the bottle. You will want to cut the amount suggested down to ¼. Fish emulsion is a good option.
Once the Last Frost Date Has Arrived…
Acclimation, or “hardening” is a very important last step. After your seedlings are all grown up and ready to go to their new home, you must acclimate them to the outside sun. This process is going to take about a week. You want to start by bringing your transplants out to a shady spot for a few hours. Then the next day, a few more hours. After three or 4 days of this, you can go ahead and try to give the plants some morning sun. Every day, add a little bit more. This will help your plants from basically getting sunburned when you first put them out.
Make sure to water those seedlings really well!
That’s it! Are you ready to start the adventure of seed starting? If you have any questions, we at The Good Earth are happy to help with starting seeds indoors!

