How to Plant a Plant
So…planting a plant seems easy…just dig a hole and place the plant, right?! Well, there is a little more to it than that! Knowing the correct way to plant a plant is the first step to installing a successful landscape!
Start by digging a hole that is twice the width and as deep as the plant’s container. Loosen the soil at the bottom of the hole and score the sides of the planting hole if they are slick. These steps will make it easier for plant roots to grow into the native soil.
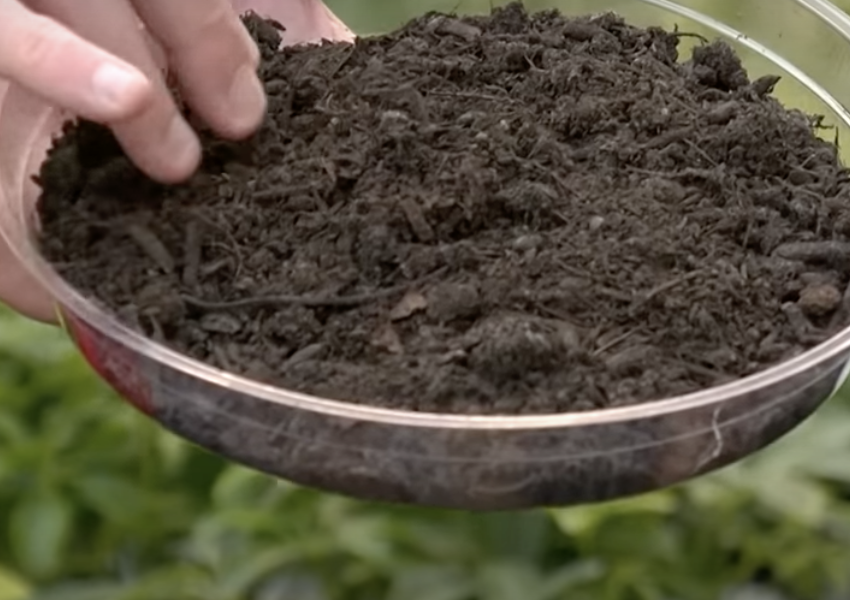
Proper soil drainage is key; this is how long it takes water to move through your soil. Heavy soils that contain clay drain more slowly and will benefit from having Organic Compost mixed in. Sandy soils that drain too fast will benefit from having a heavier compost such as Cotton Burr Compost mixed in. Mix these soil amendments into the removed native soil. A good rule of thumb is to keep a ratio of 70% native soil and 30% part amendments. For more details information on how to perform a drainage test, follow the link below, called, Getting to Know Your Soil.
Add Good Earth brand Jump Start to the planting hole or amended soil. Jump Start contains mycorrhizea, which enables the roots to take up about 1,000 times more nutrients and water than they regularly could. Be sure to place this in the root zone of the plant so it is accessible to the roots. For more information on the benefits of using our Good Earth Jump Start, check out this post.

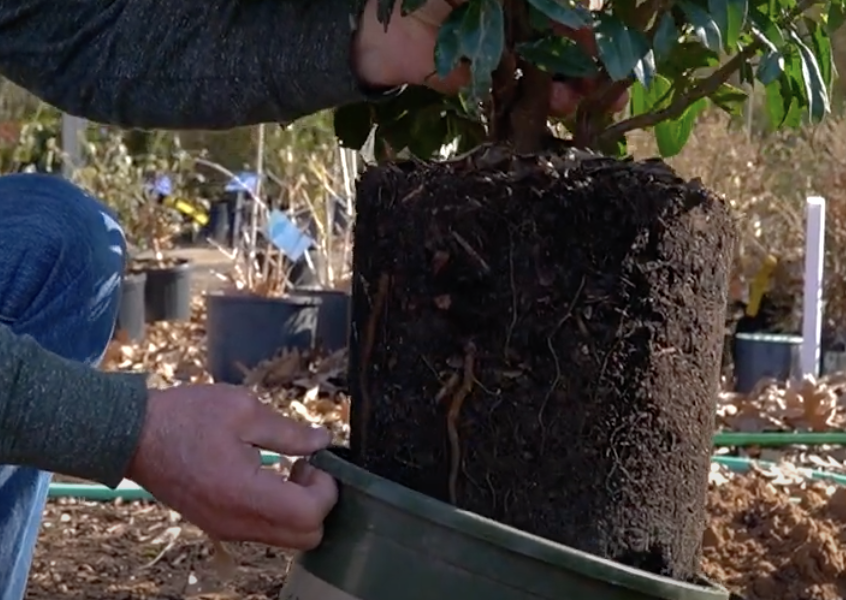
Gently remove the plant from the container. Avoid disturbing the roots too much, however, if the roots are bound and circling tightly , loosen them a bit. This will encourage them to grow outward, instead of continuing to grow in that same root-bound, circling direction. The roots shown in video above do not need to be cut or loosened, as they are not circling and severely pot bound. If you have questions on this topic, email us or give us a call! This is recommended only for pot bound trees and shrubs with visibly circling roots, and is usually not necessary in bedding plants or herbaceous material such as perennials.
Place the plant in the hole and plant deep enough that the top of the root ball is about one inch above the surrounding soil. Then, back fill by adding the amended soil around the root ball. As you add soil, press the soil down to collapse any large air pockets in the soil. Avoid pressing to hard as this can compact the soil. Once you have filled the area around the plant, make a slight well around the root area on top of the soil. This will help collect water and direct it to the plant roots. Water the plant well, add 2 to 3 inches of mulch to help the soil retain moisture and then water again.
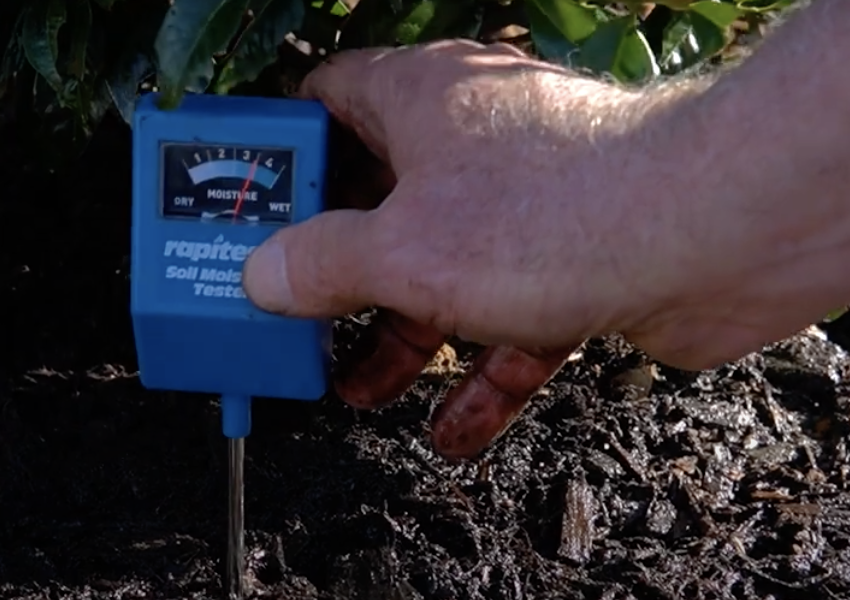
Newly planted materials will require more water initially so check the plant at least often after planting and within the first year, while it’s getting established. We recommend using a moisture meter so you don’t over or under water your plants. We have link to more information about Moisture Meters below.
So that is how to plant a plant…pretty easy, right! Thanks for watching and remember, great gardens start with Good Earth!

Getting To Know Your Soil
Not all soil is treated equally. In this guide you’ll learn properties to look for in your soil and how to adjust conditions to make them the most suitable for your plants.

Take The Guesswork Out Of Watering With A Moisture Meter
Watering can be the cause of why your plant isn’t succeeding. Here you’ll learn what a moisture meter is, how to read it, and ways to adjust your watering for best results.